I remember my mom telling while I was growing up that her mother would make homemade bread when she was a child. She tells the story of how she and her brother would be walking home from school and when they got near their house they could smell the fresh bread baking all the way outside. They would run as fast as they could into the house and eat the wonderfully soft, warm and delicious freshly baked loaf. She said it was an all day process and took a while to learn the art of baking bread. I never experienced fresh bread, (it skipped a generation I guess)- but the more I heard that story the more curious I got, just what did homemade bread have to offer?
So one day about ten years ago I tried. I followed the recipe on the back of the yeast package that I had, I was sure that it was going to be the amazing experience that my mom had so poetically described... NOT! It was a brick, I mean, I may have just mixed up a bag of concrete and baked it. I was crushed, there was no dream fulfilled that day! It took me a couple of years to recover from that heartbreaking blow, I tried again. And darn it, it happened again! Finally I found a bread making section in one of my Country Wisdom and Knowhow books, I read the whole section, every recipe. Just by reading through I learned a lot. Why proof the yeast, why add a bit of sweetener, why knead so much, why let it rise once, twice or not at all. Cookbooks are my favorite read anyway, you learn so much.

Finally, about five years ago I tried again, not with much hope, but determined all the same. Victory!!! The house filled with a wonderful toasty grain, slightly sweet, slightly yeasty smell... the crust was perfectly golden, the loaf was nice and high and airy. I couldn't wait, I sliced the heel off and the steaming bread got slathered in butter and popped in my mouth.... oooohhhh. THIS, this is what she was talking about. I was hooked. Ever since I've been baking my own bread, experimenting with different grains, techniques, sourdoughs, sprouts or whatever else sounds interesting. Sometimes I fail still, but usually it is accomplished with great reward! I encourage you to give it a shot.
This Challah recipe was passed on to me by a dear friend, more like another mother, my Jewish momma whom we love dearly. It is simple and pretty hard to mess up. Maybe with one successful loaf you'll be hooked and inspired to do more. Which is what this blog is for, to inspire like so many others have inspired me.

- Begin by adding 1 1/2 cups of warm water to a large bowl. Sprinkle 4 teaspoons of yeast evenly over the surface of the water, it will soak up the water and sink this way, otherwise you may get clumps that don't dissolve. Then stir in 2 tablespoons of honey, or sometimes I use sugar or rapadura if I'm low on honey. (Yes, even beekeepers get low on honey sometimes, sad). The sweetener is to wake up your sleepy yeast and feed it so it becomes very active, pretty important.
- Add 4 tablespoons of softened butter to your yeast mix and 2 cups of flour, and mix to combine. This will create what is called your "sponge", what you will be adding the rest of your ingredients to later once this has proofed for about 15 minutes. You will notice that the mixture becomes bubbly and begins to swell, this is how you know you have good, active yeast. Just make sure to keep in between 65-80 degrees n the house for best results.

- Next add 3 teaspoons of salt, 3 eggs, and about 3-3 1/2 cups more flour. You can also choose to add herbs or cinnamon and raisins at this point. I typically grind my own wheat flour and use about 3 cups of that and 2 cups of all-purpose flour. I find that if I use all whole wheat it makes for a much heavier bread, and this is really supposed to be nice and light. BUT I've used all whole wheat when I'm feeling extra "granola girl" that day, and I've used all white flour too- because I realized the world wouldn't explode if I did! lol

- Next, get to kneading. This bread doesn't need a whole lot of knead! Really just a couple of minutes by hand. I like to do it in the same bowl that I mixed it all up in, works just fine for this bread (not all, where you really have to develop the gluten you would want a bigger working surface). Add small amounts of flour until the dough is not super sticky anymore and is soft and supple. Side note: While I'm kneading is the only time I ever take off my wedding ring, otherwise it would be a lump of crusty dough by now.
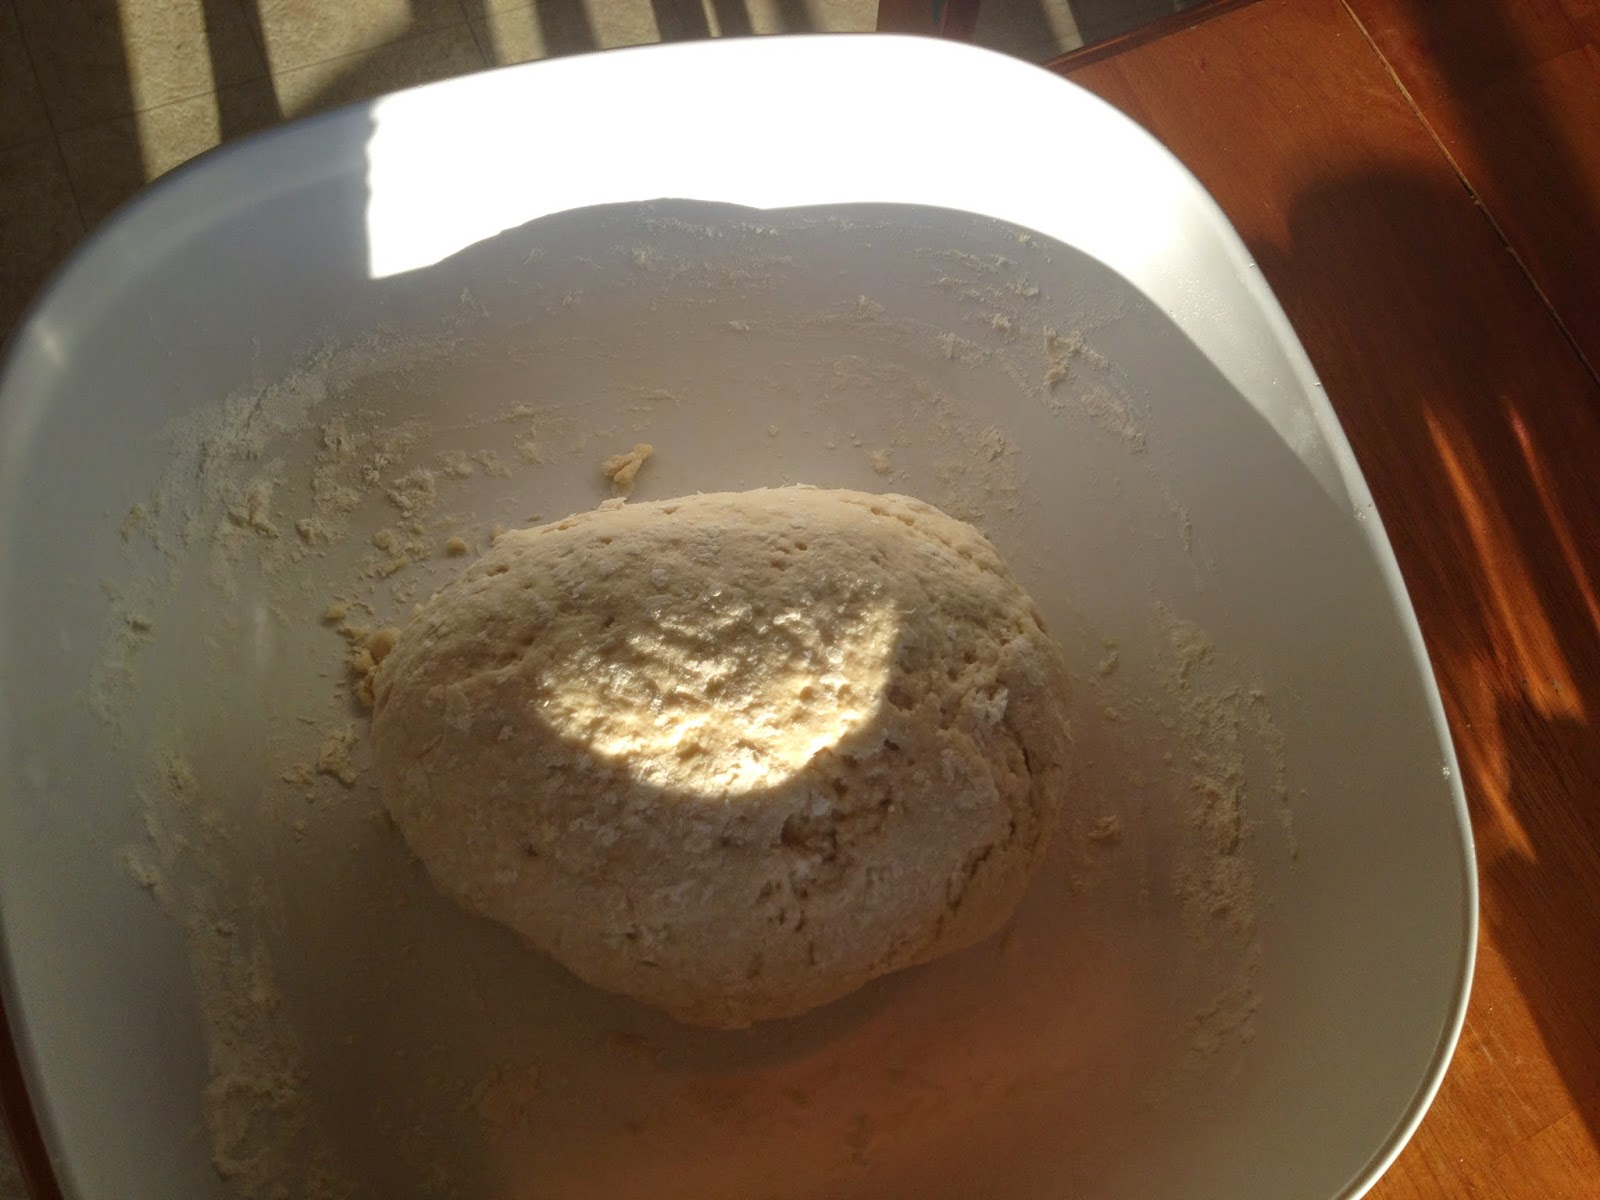
It will look something like this, and double this when it rises. Cover loosely with a dish towel and put it in a warm, draft-free spot. Let it rise for 30-45 minutes, or until doubled in size. It will depend on how warm it is in your house and how active your yeast is. This does not need a second rise, like I said this is an easy and forgiving bread.

Next cut your dough half, because this recipe is for two loaves. Take each half and but into 3 equal pieces. We are going to be making a braid. Another option is to take one half of your dough and freeze it. Then take the other half and make two smaller loaves from that.

Time to play! Roll out "snakes" with each of your six pieces of dough. Try to make them all about he same length and thickness, so that you can make an even braid and so that they'll bake evenly. I make mine about 18" long and probably about an 1.5" thick, give or take. I find it works best if you apply pressure to the center and roll and pull outward at the same time all the way to the ends until you get the right length.

Pinch the ends of three of your "snakes" together and begin to braid. Don't do a loose and flat braid. I tell my girls "high and tight!" Really lift each strand over the other so it is, well... high and tight.

Get your children in the kitchen with you. They'll love it! We practice our math and fractions while baking. Homeschoolers or not, baking is great learning.

Next you want to get an egg yolk and a couple of drops of water to thin it. Paint the entire loaf with the egg before baking. You can also add sesame seeds or poppy seeds at this point and they'll stick better. But this will give your loaf that shiny, golden finish that Challah is known for. This is Nadia's favorite part.

- Cover loosely with a towel again and let the loaves rise for about 20 minutes. You don't have to do this, but I find that if I don't they will do all the rising in the oven and your braid will split and tear a big from rising too fast. If you let them rise you'll have a true braid shape. You can tell I was in a hurry in the picture above, as I usually am on Friday afternoons preparing for Shabbat.
- Bake on a greased baking sheet, or parchment lined baking sheet, or baking stone at 350 degrees for 25 minutes. Viola! You made fresh bread. Enjoy and hopefully you'll want to go on and try another type of bread. I'll be posting lots more step-by-step bread recipes this winter I'm sure, since that is mostly what I'm doing these days.
Challah Bread Recipe
4 teaspoons yeast
1 1/2 cups warm water
2 tablespoons honey or sugar
4 tablespoons butter, softened
5-6 cups flour, divided (AP or whole wheat)
3 whole eggs
3 teaspoons salt
herbs, dried fruit or seeds (optional)
one egg yolk and 1/2 teaspoon water for egg wash
No comments:
Post a Comment